UE Slate lesson 1
To my surprise, there are almost no tutorials on Slate available on the internet, and those that do exist only explain the basics. It’s time to change that. I will try to write a few lessons that will address the main questions and issues related to Slate.
Note that you should have at least minimal experience working with Blueprints widgets, otherwise it will be much more difficult for you to learn Slate.
Slate
Slate is the Unreal Engine framework for creating user interfaces. Everything you see on the screen when you launch Unreal Engine is created with Slate: all menus, all buttons, etc. Blueprints widgets and any elements added to them also work on Slate.
Slate Widget Template
Let’s create two new files MyWidget.h and MyWidget.cpp
MyWidget.h:
#pragma once
#include "CoreMinimal.h"

class LEARNSLATE_API SMyWidget : public SCompoundWidget
{
public:
    SLATE_BEGIN_ARGS(SMyWidget) {}

    SLATE_END_ARGS()

    void Construct(const FArguments& InArgs);
};
MyWidget.cpp
#include "MyWidget.h"

void SMyWidget::Construct(const FArguments& InArgs)
{

}
This is what a basic Slate template looks like. For now, the .cpp file doesn’t contain anything notable since it only has an empty constructor, but there’s something to say about the .h file. Attentive readers will notice that there’s no standard UE macro UCLASS(), and that’s because Slate is a low-level framework, and we don’t have access to the usual UObject functions.
Next are the macros SLATE_BEGIN_ARGS(SMyWidget) {} SLATE_END_ARGS(), which allow us to pass data to Slate, such as text, textures, pointers to actors, etc.
Lastly, there is the function void Construct(const FArguments& InArgs); where we will create our widget, and the arguments are the data we specified in the macros.
First Slate Widget
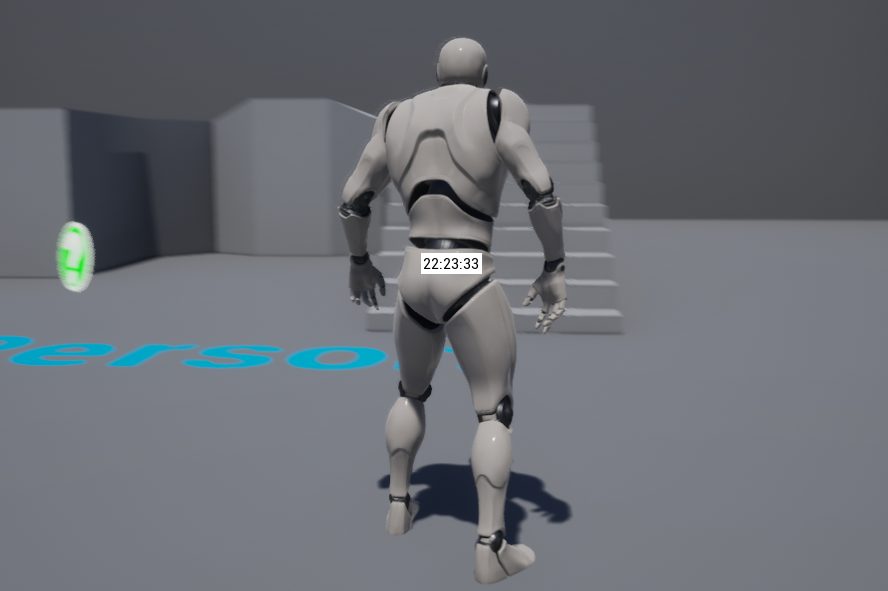
We will create a simple widget that will display the current time:
MyWidget.cpp
#include "MyWidget.h"

void SMyWidget::Construct(const FArguments& InArgs)
{
    ChildSlot
    .HAlign(HAlign_Center)
    .VAlign(VAlign_Center)
    [
        SNew(SBorder)
        .HAlign(HAlign_Center)
        .VAlign(VAlign_Center)
        .BorderImage(FCoreStyle::Get().GetBrush("WhiteBrush"))
        [
            SNew(STextBlock)
            .Text(this, &SMyWidget::GetTime)
            .ColorAndOpacity(FLinearColor::Black)
        ]
    ];
}

FText SMyWidget::GetTime() const
{
    FDateTime CurrentTime = FDateTime::Now();
    return FText::FromString(CurrentTime.ToString(TEXT("%H:%M:%S")));
}
This code is quite different from the usual Unreal Engine code, but don’t be afraid, it’s pretty simple. In Slate, everything works with slots (containers) that can contain something, including other slots.
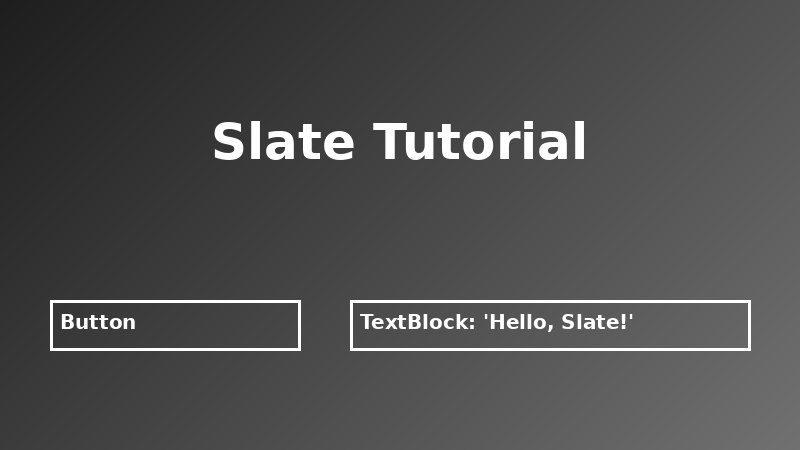
For clarity, I created the same widget in Blueprints, and here is what it looks like:
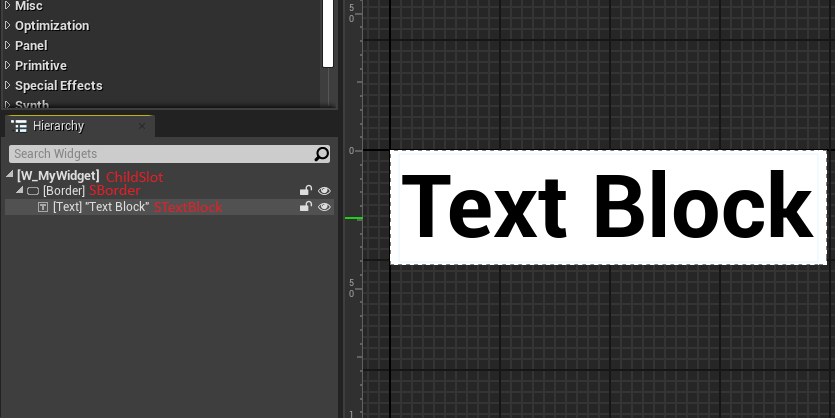
First, we have ChildSlot, which is a slot containing all the descendants of this widget. We attach all the elements that will be written below to it.
.HAlign(HAlign_Center).VAlign(VAlign_Center) is the alignment of ChildSlot, in this case, centered both vertically and horizontally. Note that this is how the settings and modifications of Slate elements are made: through a dot and calling the desired parameter, for example: .HAlign(HAlign_Center) .Text(FText::FromString(“Some Text”)) .Image(PathToImage).
Next, we have a square bracket [, which opens the contents of the ChildSlot, and it is closed at the end with a reverse symbol and a semicolon ];, but only the main slot is closed with a semicolon, the slots inside the main slot are closed with just a square bracket ].
Then we have SNew(SBorder), where we first encounter the Slate function SNew, which we use to create new elements, whether it’s a slot or its contents. In this case, we create an SBorder element. This element contains an image as a background and a slot where we can place something. But there’s only one slot. .HAlign(HAlign_Center).VAlign(VAlign_Center) again defines the alignment of the slot.
.BorderImage(FCoreStyle::Get().GetBrush(“WhiteBrush”)) — in this line, we specify one of the engine’s pre-made brushes as the border image, which will be a white fill.
Next, we enter the slot inside SBorder and create an STextBlock, to which we assign a function as an argument for .Text. You can also write something like .Text(FText::FromString(“Hello, Slate!”)), and it will work, but since time doesn’t stand still (unfortunately), it needs to be constantly updated, and if you specify a function as an argument, the element will update itself. .ColorAndOpacity(FLinearColor::Black) makes the text color black. I won’t explain the SMyWidget::GetTime() function as it’s simple UE code.
Great, we have a widget, but how do we display it on the screen? Through the HUD, so let’s create a new class:
MyHUD.h
#pragma once

#include "CoreMinimal.h"
#include "GameFramework/HUD.h"
#include "MyHUD.generated.h"

UCLASS()
class LEARNSLATE_API AMyHUD : public AHUD
{
    GENERATED_BODY()

protected:

    TSharedPtr<class SMyWidget> TimeWidget;

    virtual void BeginPlay() override;
};
MyHUD.cpp
#include "MyHUD.h"
#include "MyWidget.h"

void AMyHUD::BeginPlay()
{
    Super::BeginPlay();

    if (GEngine && GEngine->GameViewport)
    {
        TimeWidget = SNew(SMyWidget);
        GEngine->GameViewport->AddViewportWidgetContent(TimeWidget.ToSharedRef());
    }
}
In the .h file, we saved a reference to the widget, and in the .cpp file, we created and added the Slate widget to the screen. Now, in the game mode, you need to specify MyHUD as the default HUD and you can launch the project.
Conclusion
With Slate, you can create almost anything: menus, inventories, notebooks, even entire games. The main thing is to stop being afraid of it and understand the basics. In the next lessons, I will show you how to create an inventory UI system with Slate.